

And here
that wall is now:

Overall, we’ve
painted the walls, added the horizontal plank accent wall, bought a rug and put up window
treatments. But today I’m just gonna talk about the wall (simply because the
rest of my dining room is covered in, you know, general day to day stuff.) That
plank wall was a must, due to some horrible drywall work by the previous
owners. I always knew we’d either have to completely redo the drywall or cover
it somehow. Pinterest to the rescue! I found some great inspiration here, here,
and here.
I couldn’t
use regular boards like I've seen other people use, because my window trim isn’t
deep enough. We found these thin 8’ tongue and grove planks at Lowe’s:
My
wonderful hubby did all the handy work (on his vacation, no less.) I just did
the painting. It’s a pretty self explanatory process. The planks came in 8’
lengths so we knew there would be seams and planned accordingly. The wall is 11’
wide so we did one whole length plus a 3’ section, swapping those lengths on
the next row up so we had a nice zig-zag of seams (as opposed to one long seam
running up one side of the wall.) I really liked these planks because they were
easy to install and had the look we were going for. I wanted it a little rustic
with a slight gap between each board, so the tongue and groove feature is
perfect. It was just a matter of snapping them together and securing them to the wall with a few
nails (6-10 depending on the length). Here’s the wall au naturale:

As a reminder, here's the before:


We left a
slight gap, about 2”, at the top because we plan on adding crown moulding to
this entire room. Not to mention the sides need trimmed out, but one
thing at a time, right? We’ll get there. :)
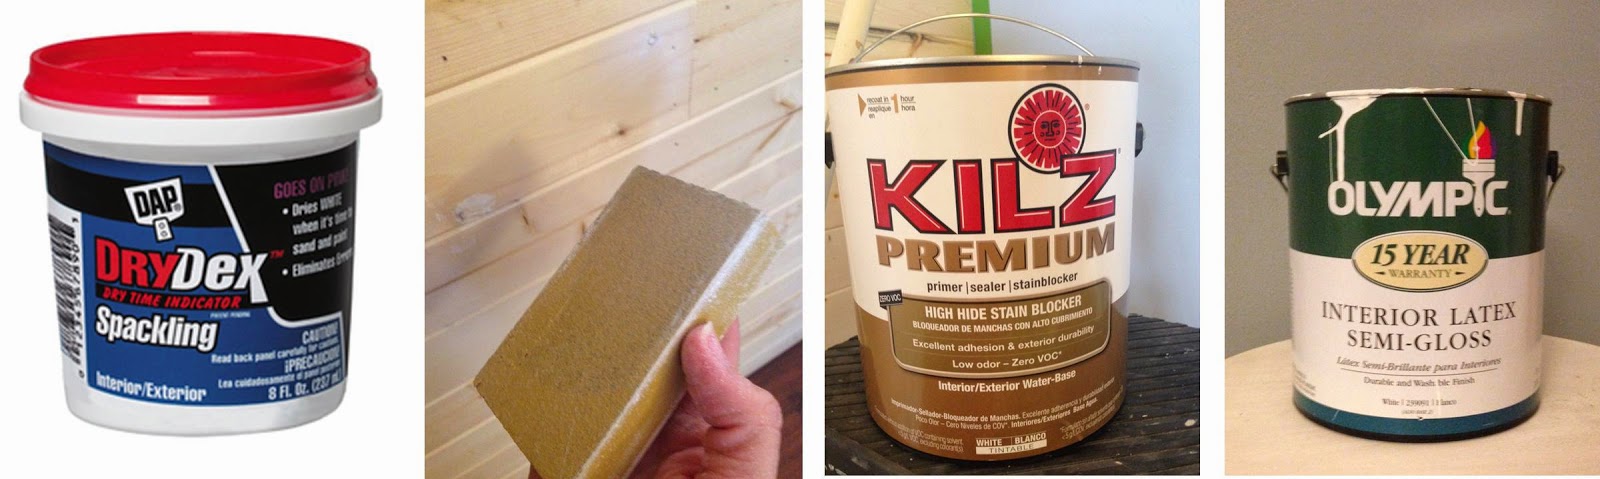
This
simple wall was the best solution we could come up with to cover that awful
botched drywall. It wasn’t too big of a mess to do and the total cost was
around $70 - $11.00
for 6 planks in a package and we used 6 packages. That doesn’t include the
spackle, paint and supplies because we already had all that.
We really
love how much it brightens up the dining room AND the living room since they’re
connected. If you’re on the fence about installing something like this in your
own home, go for it! It’s a fairly easy project (we made all the cuts with a
hand saw and a miter box), and the best thing is the character it adds to our
otherwise plain 1970s ranch.
No comments:
Post a Comment